Artificial Grass Installation Process
Step 1: Pre-Installation
Pre-installation begins with demolition which involves the removal of any existing soil, weeds, or any substance above ground by rough grading the area and uncovering everything underneath including electric wiring, irrigation, pipes, etc–we can get a solid sub base for the project.
Cap sprinklers. In this phase, we also cap any existing sprinklers that will not be used. It is very important to cap sprinklers at the pipe level as opposed to the rising. This avoids any leakage that may occur between the two. Modify sprinklers irrigation or drainage.
Sometimes relocation of sprinklers, modification of existing irrigation lines, and addition of any required drainage is necessary. We make sure to backfill and mark the location of any unused sprinklers to avoid depressions or low spots.
When locating any wiring, electrical sprinklers, etc—we move it inward and away from any hardscape or perimeter by six to eight inches. This should prevent any accidental damage when it comes time to secure the turf edge with nails. Once moved, we lay all wiring on top of the subgrade surfacing with u-nails.
Install Bender Board—the installation of the bender board is an important step as it provides a clean line and separation for the plants or bed and turf areas.
Step 2: Base Preparation
The next step is to install the base material. This is a special mixture of gravel and sand which allows for proper drainage. Install 3 inches in depth. For a non-pet landscape installation, the base material should be installed to a depth of 3 inches.
Properly distribute and level base. Proper base distribution and leveling are important to account for sloping away from living areas and towards the install drainage area. A proper base installation also ensures the turf will have a smooth level appearance upon completion of the project.
Step 3: Compacting Base
Next, we wet the existing base to allow for proper settling.
Compaction—compaction is accomplished by vibrating, tamping, and rolling the gravel. This establishes a solid base in which to drive the nails while installing the turf. Any additional leveling or grading can be done at this time.
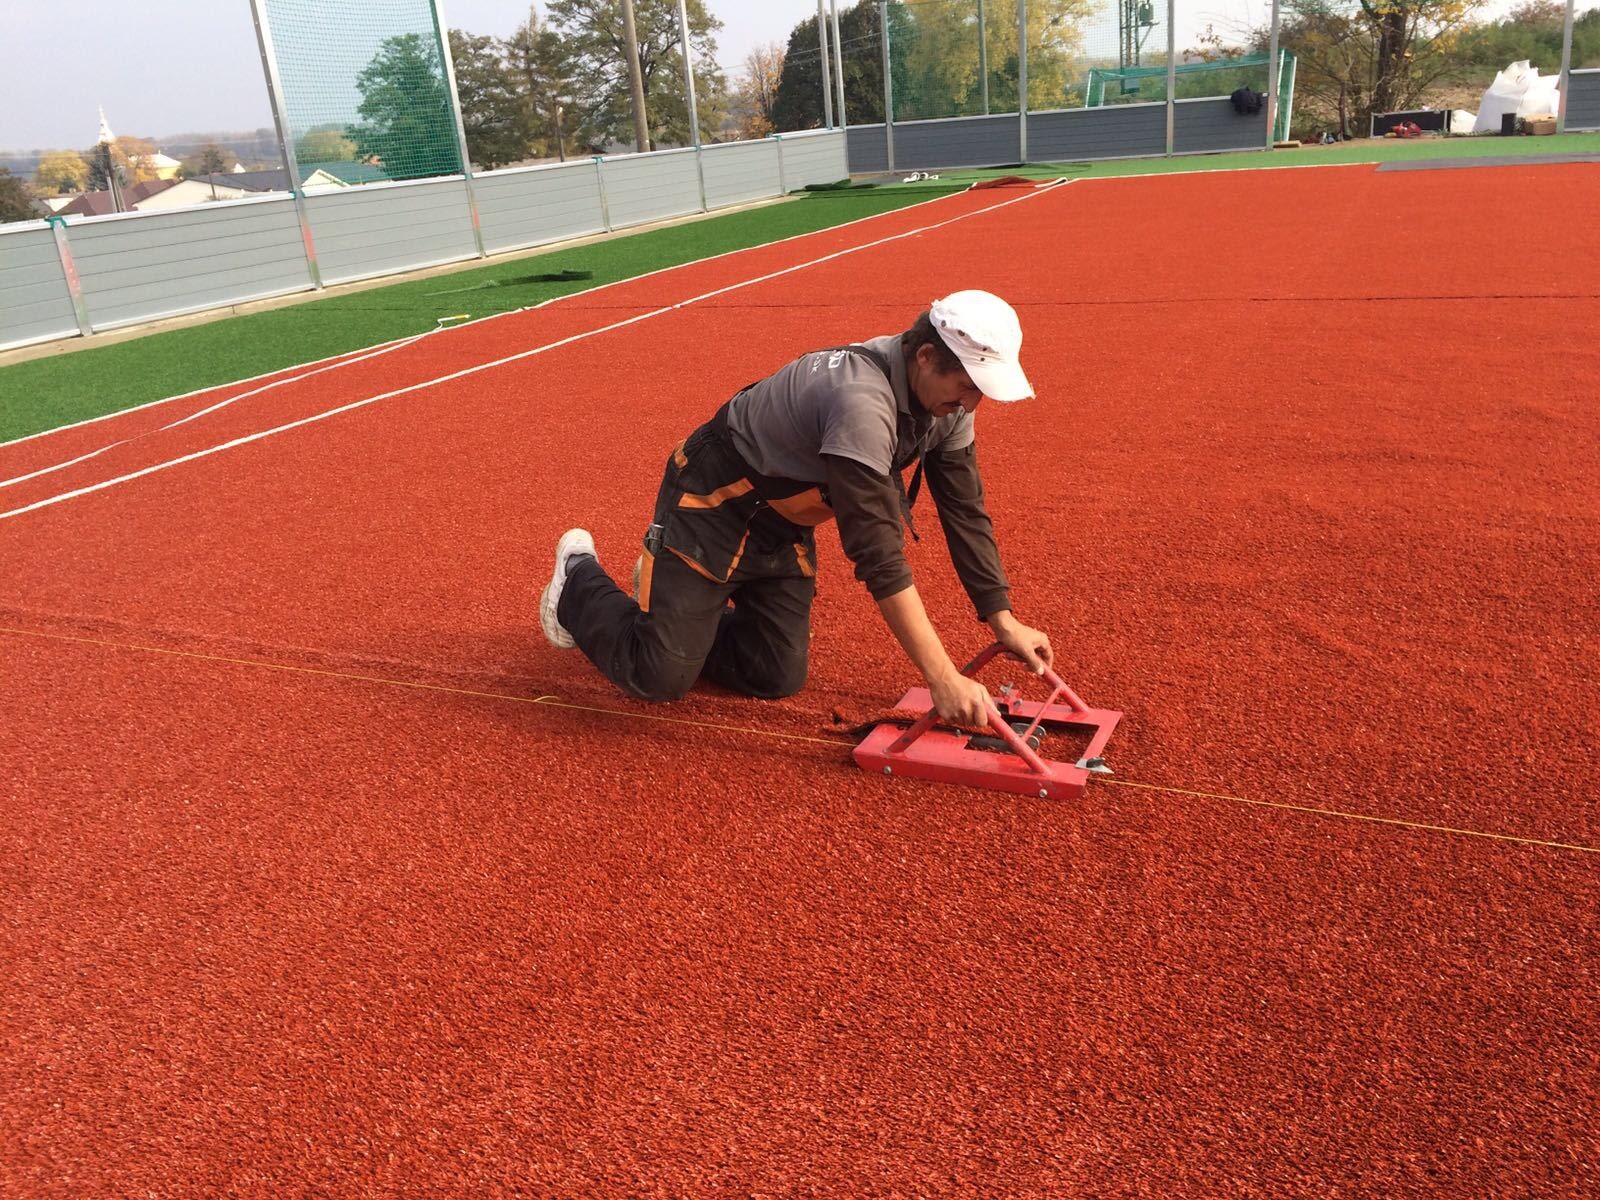
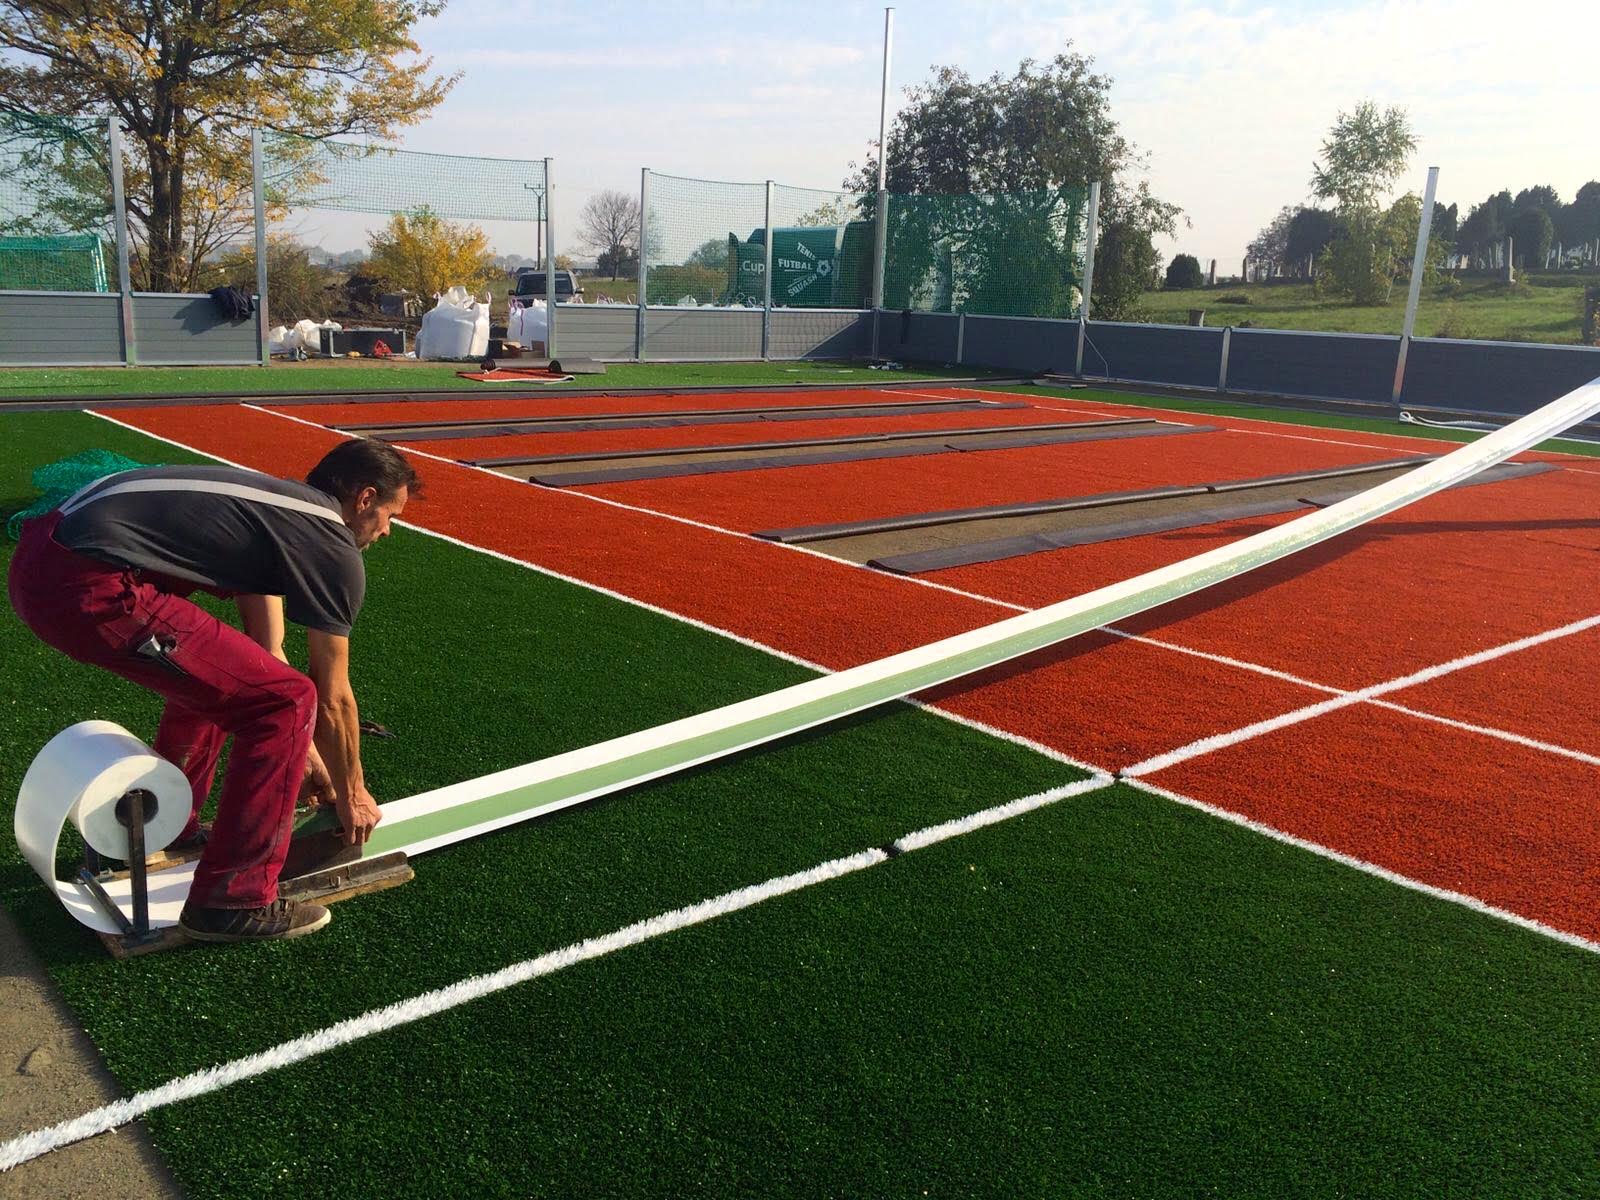
Step 4: Custom Fitting Turf
When trimming the turf to fit the area properly you should over cut the turf by one inch along the edges. This provides the excess turf necessary for tucking. When in doubt, cut the turf fatter as it can always be trimmed later.
When seaming, it is recommended to use the proper seaming tool. Cutting the turf with the special turf knives avoids the possibility of the turf pieces pushing against each other’s angles, which in many cases would create the illusion of discoloration in the area of the seam. Install nails every six inches along the edge. Install nails along the edge by placing them six inches apart driving them down ¾ of the way. Nails used in the field should be applied as necessary to prevent movement of turf. As before, drive the nails down ¾ of the way.
When finishing the nails, separate the grass to avoid pulling down the blades with the nail. The nail is then hidden with the grass blade at the base with the mat. Don’t drive the nails too deeply in the ground as it will cause the turf to be pulled down creating dimples on the surface. Secure seams with U-nails every six inches. During the seaming process, six-inch u-nails are used to join the turf together. The two seams are butted up against each other with u-nails spaced six inches apart. The finishing process with the u-nails is the same as before. Separate the grass to avoid the blades being pulled down with the u-nail. The u-nail is then driven to the same level as the mat and then hidden with the grass blades.
Step 5: Tucking Turf Edges
Step 6: Applying Filler
In this phase, a power brush is used. The heavy bristled brush is used to pull against the grain of the grass causing it to stand up in preparation for applying the filling sand. Next apply the Silica Sand Infill or Envirofill. Envirofill is anti-bacterial and not harmful for pets or children. Spread the granules evenly throughout the turf installation. This acts as a balance to hold the blades upright and gives the turf more weight.
Step 7: Final Groom
The final grooming step involves power brushing the turf once again, lightly, to force the Envirofill granules into the base of the turf for settling and optimal stability. Follow up the process to remove any excess debris.
Artificial Grass Installation Process
Step 1: Pre-Installation
Pre-installation begins with demolition which involves the removal of any existing soil, weeds, or any substance above ground by rough grading the area and uncovering everything underneath including electric wiring, irrigation, pipes, etc–we can get a solid sub base for the project.
Cap sprinklers. In this phase, we also cap any existing sprinklers that will not be used. It is very important to cap sprinklers at the pipe level as opposed to the rising. This avoids any leakage that may occur between the two. Modify sprinklers irrigation or drainage.
Sometimes relocation of sprinklers, modification of existing irrigation lines, and addition of any required drainage is necessary. We make sure to backfill and mark the location of any unused sprinklers to avoid depressions or low spots.
When locating any wiring, electrical sprinklers, etc—we move it inward and away from any hardscape or perimeter by six to eight inches. This should prevent any accidental damage when it comes time to secure the turf edge with nails. Once moved, we lay all wiring on top of the subgrade surfacing with u-nails.
Install Bender Board—the installation of the bender board is an important step as it provides a clean line and separation for the plants or bed and turf areas.
Step 2: Base Preparation
The next step is to install the base material. This is a special mixture of gravel and sand which allows for proper drainage. Install 3 inches in depth. For a non-pet landscape installation, the base material should be installed to a depth of 3 inches.
Properly distribute and level base. Proper base distribution and leveling are important to account for sloping away from living areas and towards the install drainage area. A proper base installation also ensures the turf will have a smooth level appearance upon completion of the project.
Step 3: Compacting Base
Next, we wet the existing base to allow for proper settling.
Compaction—compaction is accomplished by vibrating, tamping, and rolling the gravel. This establishes a solid base in which to drive the nails while installing the turf. Any additional leveling or grading can be done at this time.
Step 4: Custom Fitting Turf
When trimming the turf to fit the area properly you should over cut the turf by one inch along the edges. This provides the excess turf necessary for tucking. When in doubt, cut the turf fatter as it can always be trimmed later.
When seaming, it is recommended to use the proper seaming tool. Cutting the turf with the special turf knives avoids the possibility of the turf pieces pushing against each other’s angles, which in many cases would create the illusion of discoloration in the area of the seam. Install nails every six inches along the edge. Install nails along the edge by placing them six inches apart driving them down ¾ of the way. Nails used in the field should be applied as necessary to prevent movement of turf. As before, drive the nails down ¾ of the way.
When finishing the nails, separate the grass to avoid pulling down the blades with the nail. The nail is then hidden with the grass blade at the base with the mat. Don’t drive the nails too deeply in the ground as it will cause the turf to be pulled down creating dimples on the surface. Secure seams with U-nails every six inches. During the seaming process, six-inch u-nails are used to join the turf together. The two seams are butted up against each other with u-nails spaced six inches apart. The finishing process with the u-nails is the same as before. Separate the grass to avoid the blades being pulled down with the u-nail. The u-nail is then driven to the same level as the mat and then hidden with the grass blades.
Step 5: Tucking Turf Edges
Step 6: Applying Filler
In this phase, a power brush is used. The heavy bristled brush is used to pull against the grain of the grass causing it to stand up in preparation for applying the filling sand. Next apply the Silica Sand Infill or Envirofill. Envirofill is anti-bacterial and not harmful for pets or children. Spread the granules evenly throughout the turf installation. This acts as a balance to hold the blades upright and gives the turf more weight.
Step 7: Final Groom
The final grooming step involves power brushing the turf once again, lightly, to force the Envirofill granules into the base of the turf for settling and optimal stability. Follow up the process to remove any excess debris.
“The grass may look greener on the other side, but when you get there you will find it’s artificial turf”
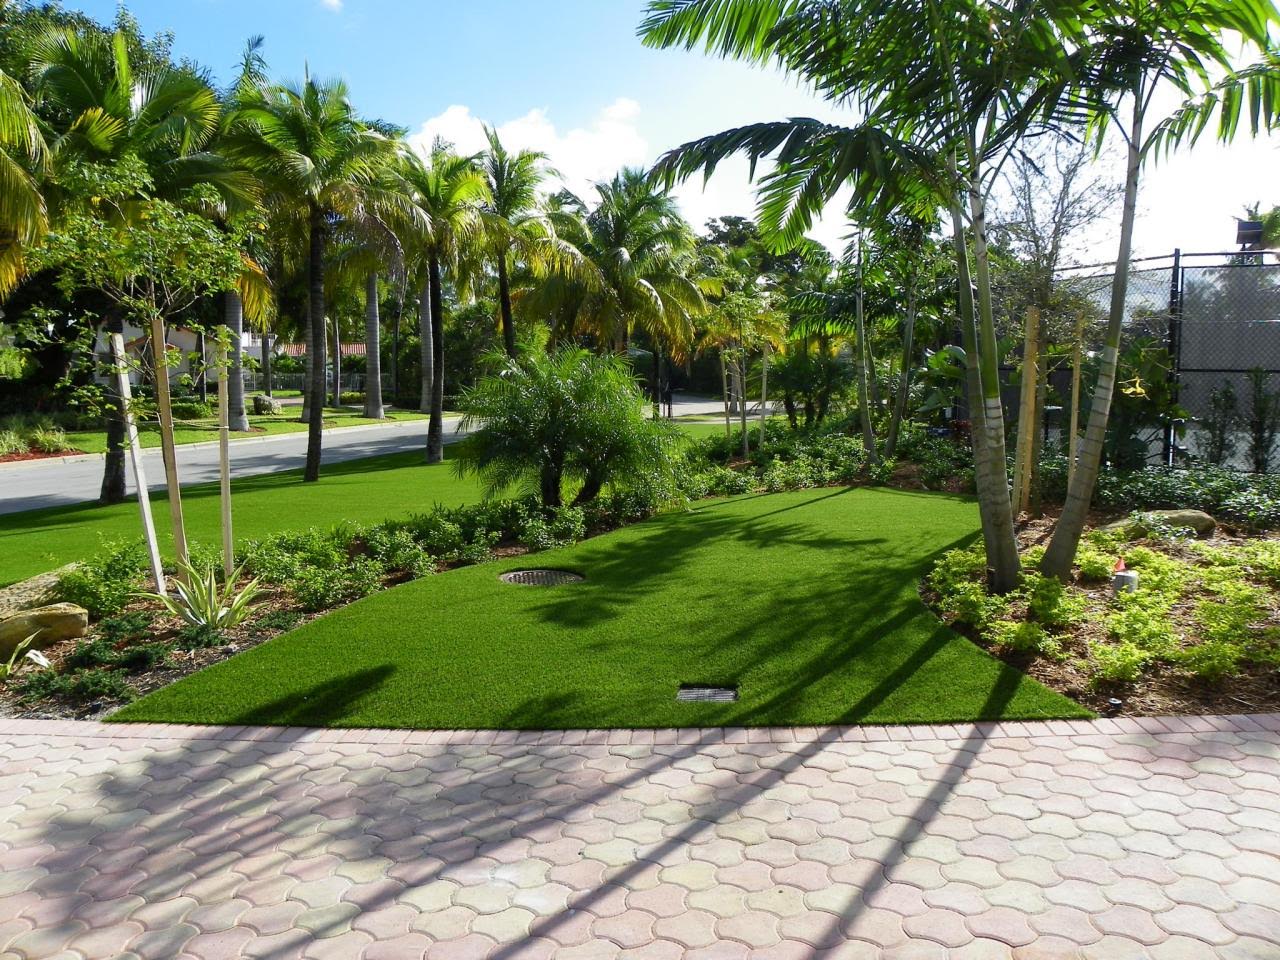
Residential
Residential artificial grass is a practical solution for a variety of applications around your home. Traditional grass requires a lot of upkeep and maintenance to keep that beautiful green color all year long, while synthetic turf keeps your front yard, backyard, balcony, terrace, driveway, rooftop, and more looking fresh all year long.
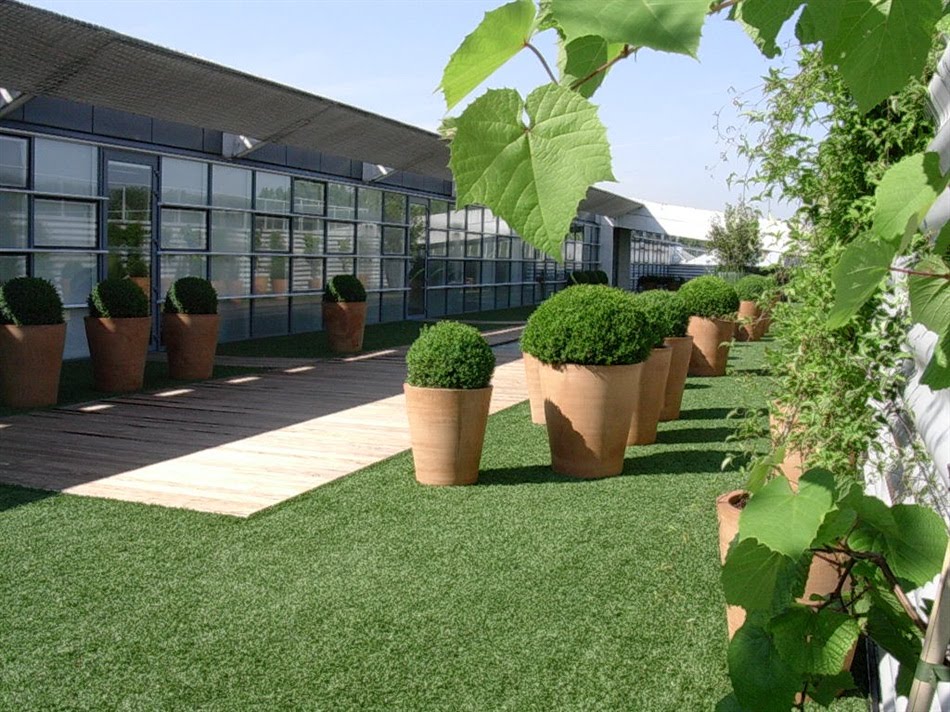
Commercial
We have installed commercial artificial grass for playgrounds, hotels, commercial buildings, golf courses, pet care facilities, and many other places of business. Our synthetic turf is low maintenance, lasts a long time, is heat resistant, and is safe and sanitary. Best of all it saves you money and leaves a low-carbon footprint.
Best Miami Turf Installation Service
Best Miami Turf offers artificial grass installation using the largest collection of premium quality turf for residential, commercial, and sports. Let yourself be pleasantly surprised by the true to life appearance of our artificial grass and discover all the benefits of this beautiful, almost no maintenance product.
Our synthetic turf is low maintenance, lasts a long time, is heat resistant, and is safe and sanitary. Best of all it saves you money and leaves a low-carbon footprint. Most of our customers see a quick return on investment after installing artificial turf for their business.
Contact Best Miami Turf Installation Experts
BEST MIAMI TURF | MCUP USA LLC
Downtown Miami
465 Brickell Ave Miami, FL 33131
Doral
1414 NW 107th Avenue, Suite 103, Miami, FL 33172